Culvert Failure
Culverts move water under roads, driveways, and other surfaces. When these pipes fail, roads wash out and properties flood. Recognizing problems early saves money and prevents extensive damage.
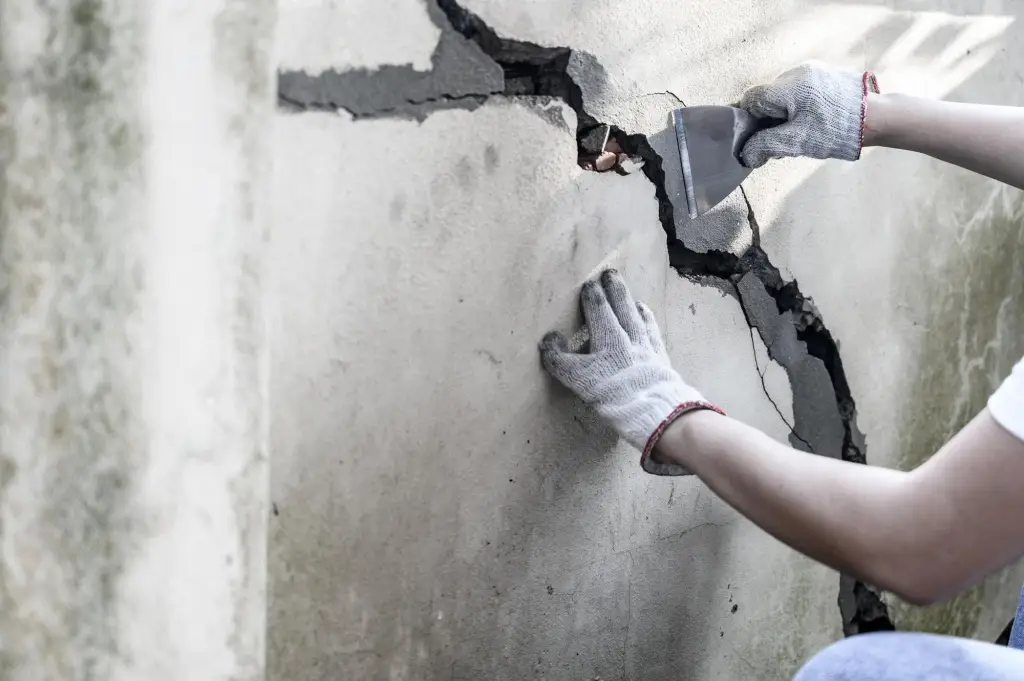
Common failure signs include standing water near culvert entrances, eroded areas around outlets, rust holes in metal pipes, separated joints, and sinkholes above buried sections. If you notice any of these conditions, professional assessment becomes necessary.
Initial Assessment Phase
Site Inspection
Contractors begin with thorough site evaluation. They examine the existing culvert condition, measure pipe diameter and length, and check inlet and outlet configurations. Flow capacity calculations determine if the current size handles water volume adequately.
Inspectors look at surrounding soil conditions and road structure. They assess how far damage extends beyond the visible problem. Camera equipment may inspect pipe interiors when external access proves difficult.
Drainage Analysis
Knowing water flow patterns guides repair strategy. Contractors evaluate watershed size, seasonal flow variations, and peak discharge rates. This information determines appropriate culvert sizing and design.
They map where water comes from and where it needs to go. Sometimes problems stem from inadequate capacity rather than physical damage. Undersized culverts require replacement with larger pipes, not simple repair.
Permit Requirements
Most culvert work requires permits from local authorities. Stream crossings need environmental agency approval. Road crossings may require transportation department permits. Contractors handle this paperwork, but property owners should understand approval timelines.
Permit processes take days to weeks depending on location and project scope. Wetland or endangered species considerations add complexity. Factor these delays into project planning.
Project Planning
Design Specifications
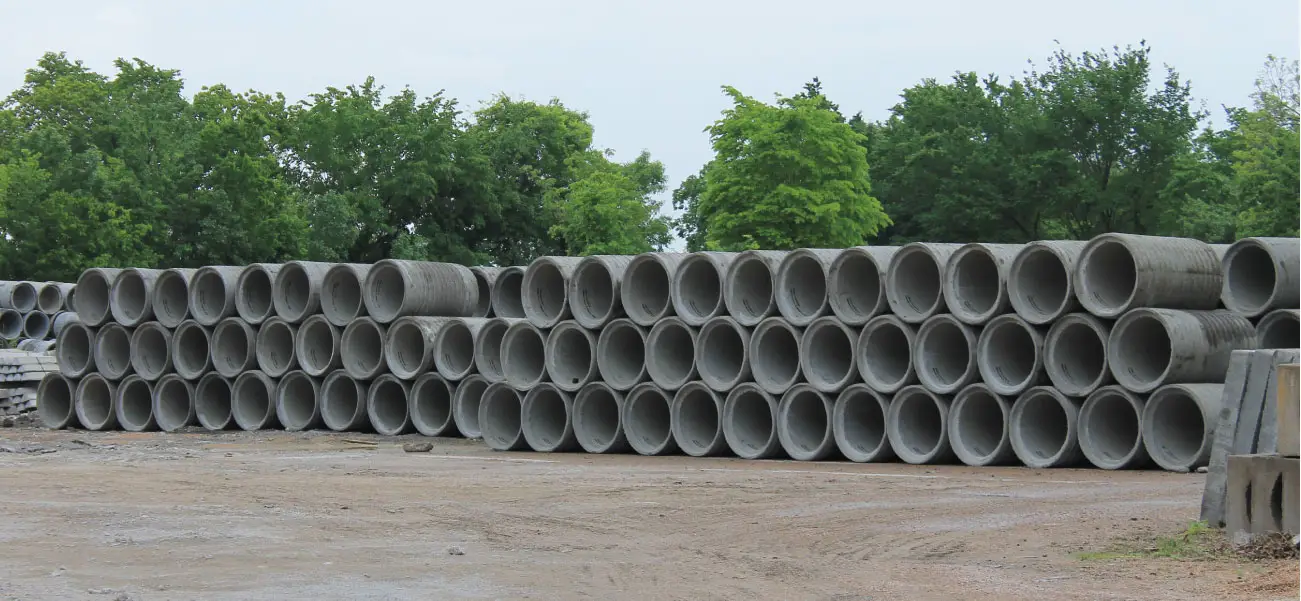
Engineers select appropriate pipe materials, sizes, and configurations. Options include corrugated metal, concrete, and plastic. Each material suits different conditions and budgets.
Pipe diameter must accommodate calculated peak flows. Contractors add safety margins above minimum requirements. Headwalls, wingwalls, and aprons protect entrances and exits from erosion.
Access & Staging
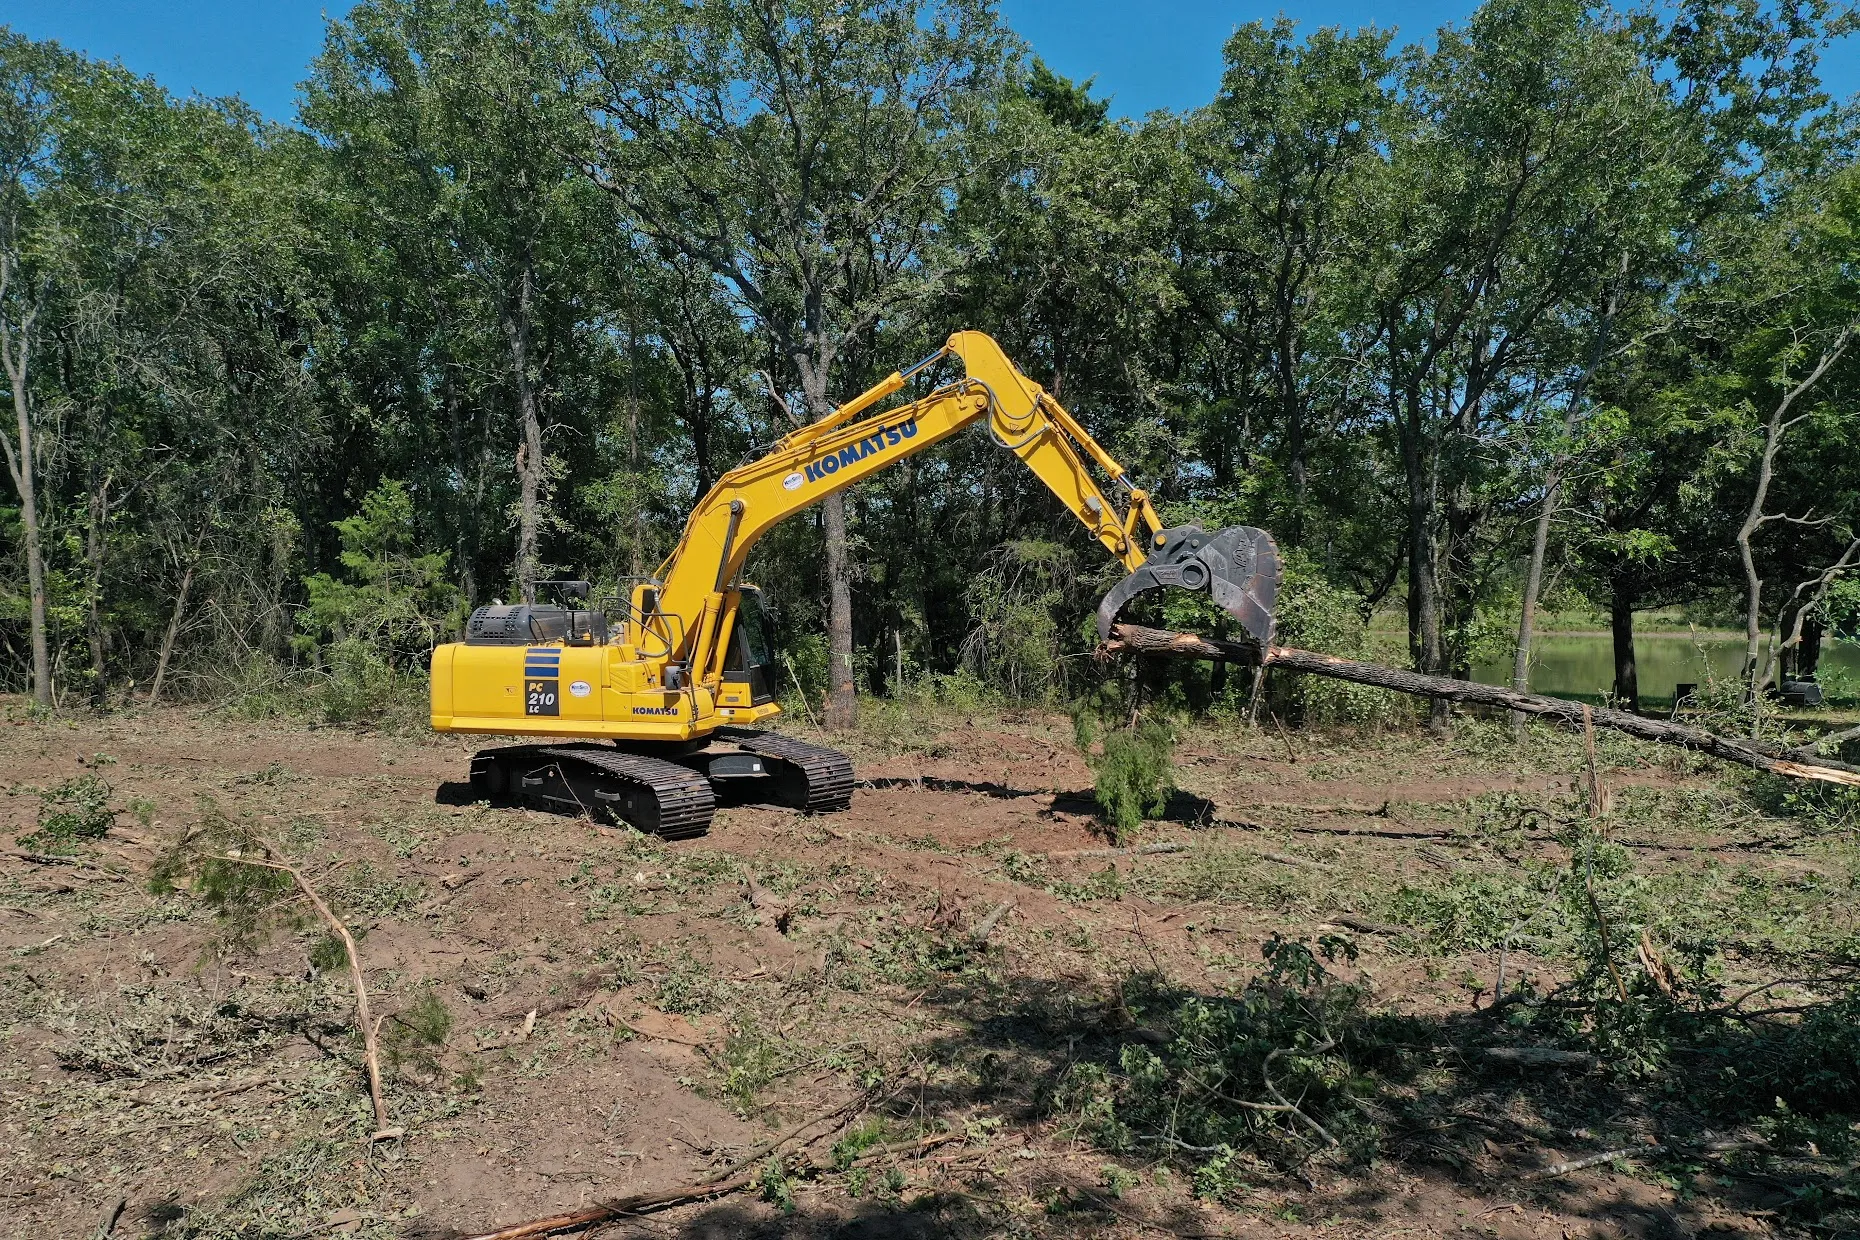
Contractors plan equipment access routes and material staging areas. Large excavators need solid ground to operate safely. Delivery trucks require space to maneuver and unload.
If existing access proves inadequate, temporary roads or work pads may be necessary. Property owners should discuss access plans to minimize landscape disruption.
Timeline Development
Contractors provide realistic schedules based on project scope. Simple replacements may take 2-3 days. Complicated installations requiring extensive excavation need a week or more. Weather delays always remain possible.
Knowing timelines helps property owners plan around road closures. If the culvert serves as primary access, arrange alternative routes or schedule work during low-use periods.
Pre-Construction Preparation
Utility Location
Underground utilities must be marked before digging begins. Gas, electric, water, and communication lines often cross roads near culverts. Professional locating services identify these hazards.
Even rural properties have buried utilities. Never skip this step. Damaged lines create dangerous conditions and expensive repairs.
Traffic Control
If the culvert sits under an active road, traffic management becomes necessary. Contractors set up detours, barricades, and signage. Emergency vehicle access must remain available.
Communicate closure schedules with neighbors and emergency services. Post notices well in advance. Provide clear detour maps and contact information.
Erosion Controls
Regulations require erosion and sediment controls during construction. Contractors install silt fences, sediment basins, and other measures to protect waterways. These systems stay in place until vegetation reestablishes.
Proper erosion control prevents project complications and regulatory violations. Quality contractors include these measures in project bids.
Excavation Phase
Existing Structure Removal
Work begins by exposing and removing the failed culvert. Excavators dig down to pipe depth, removing damaged sections carefully. If the old pipe contains flowing water, temporary diversions keep the work area manageable.
Soil removed during excavation gets stockpiled if suitable for backfill. Contaminated or unsuitable material goes to disposal sites. Contractors separate topsoil for later restoration use.
Foundation Preparation
The trench bottom receives careful preparation. Contractors remove unstable soil and replace it with compacted aggregate bedding. This foundation prevents settling that causes future failures.
Bedding depth and material specifications vary by pipe type and soil conditions. Proper foundation work takes time but ensures long-term performance.
Installation Process
Pipe Placement
New culvert sections are positioned precisely to maintain proper grade. Water must flow downhill without creating excessive velocity. Typically, culverts slope 1-2% from inlet to outlet.
Contractors join pipe sections according to manufacturer specifications. Gaskets seal joints in concrete and plastic pipes. Metal sections receive proper connections or may be installed as single long pieces.
Structural Components
Headwalls or endwalls often get installed at pipe entrances and exits. These concrete or stone structures prevent erosion around openings and provide clean transitions. Some designs incorporate wingwalls that extend into embankments.
Aprons at outlets dissipate water energy, preventing downstream erosion. These may be concrete, riprap, or other erosion-resistant materials.
Backfilling
Material goes back into the trench in controlled lifts. Each layer receives compaction before adding the next. Proper compaction prevents road settling that creates bumps and depressions.
The area directly around pipes requires special attention. Hand-operated compactors work in tight spaces where large equipment cannot reach. Backfill must support both the pipe and road surface above.
Road Surface Restoration
Base Reconstruction
Road base gets rebuilt to original or better standards. Aggregate base material is placed and compacted to specified thickness. This layer distributes traffic loads and provides stable support.
Quality contractors match or exceed original base specifications. Skimping on base material creates future problems no matter how good the surface looks initially.
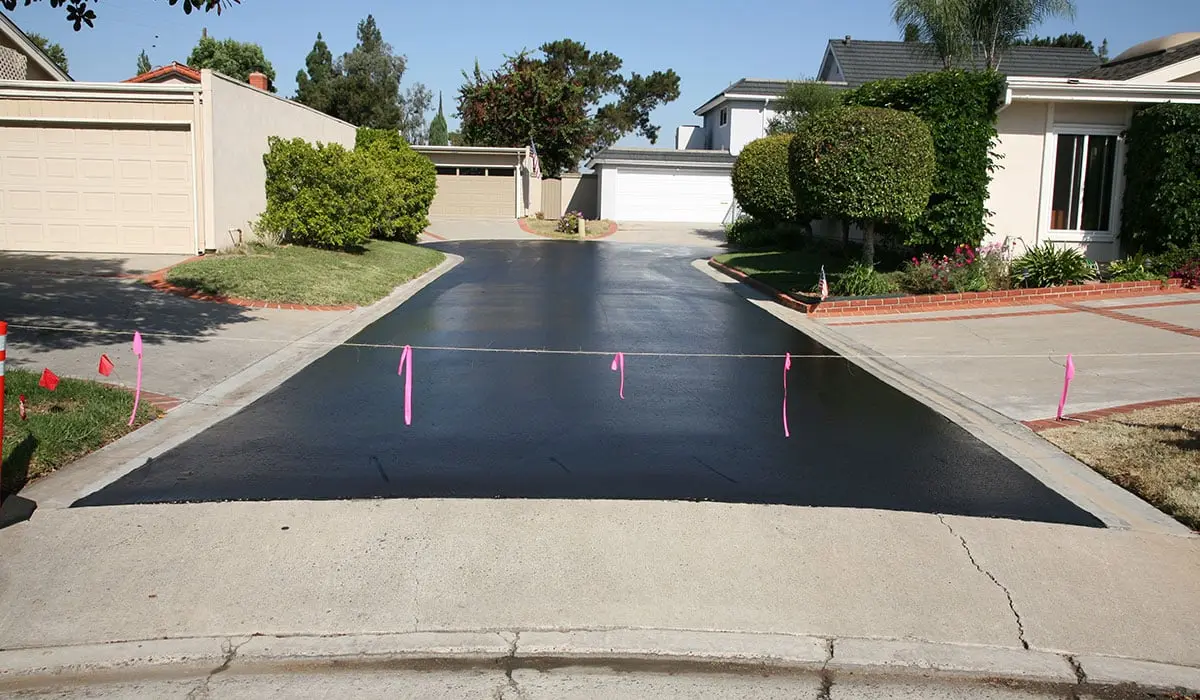
Surface Replacement
The final surface matches the existing road. Gravel roads receive appropriate stone in proper depths. Paved roads get new asphalt. Contractors feather transitions so repairs combine invisibly with surrounding surfaces.
Surface work should extend beyond the excavation area to create smooth transitions. Abrupt edges create rough rides and accelerate deterioration.
Final Site Work
Drainage Finalization
Contractors ensure water flows properly through the new culvert. They adjust grades at inlets and outlets. Ditches get reshaped to direct water to the culvert entrance.
Sometimes vegetation removal improves water flow. Contractors clear obstructions and establish clean flow paths. These finishing touches prevent future drainage problems.
Erosion Control Establishment
Disturbed areas receive erosion protection. Seeding and mulching stabilize bare soil. Erosion control blankets may protect steep slopes. These measures must be in place before contractors leave the site.
Vegetation establishment takes time. Property owners should monitor these areas and report problems promptly. Contractors typically guarantee erosion controls and will return if issues develop.
Cleanup & Restoration
Professional contractors remove all construction debris, excess materials, and equipment. They restore staging areas and access routes. The site should look clean and organized upon completion.
Final grading restores drainage patterns around the work area. Topsoil goes back over disturbed ground. The goal is leaving minimal evidence that construction occurred.
Post-Construction Monitoring
Initial Inspection Period
The first major rainfall tests new installations. Property owners should inspect the culvert during and after storms. Look for proper flow, check for leaks at joints, and watch for erosion at inlets or outlets.
Report any concerns to the contractor immediately. Most issues are easiest to fix soon after discovery. Good contractors stand behind their work and address problems promptly.
Long-Term Maintenance
Even new culverts need regular attention. Clear debris from entrances seasonally. Inspect after major storms. Small maintenance tasks prevent big problems.
Contractors often provide maintenance guidelines specific to the installation. Follow these recommendations to protect your investment and ensure long service life.