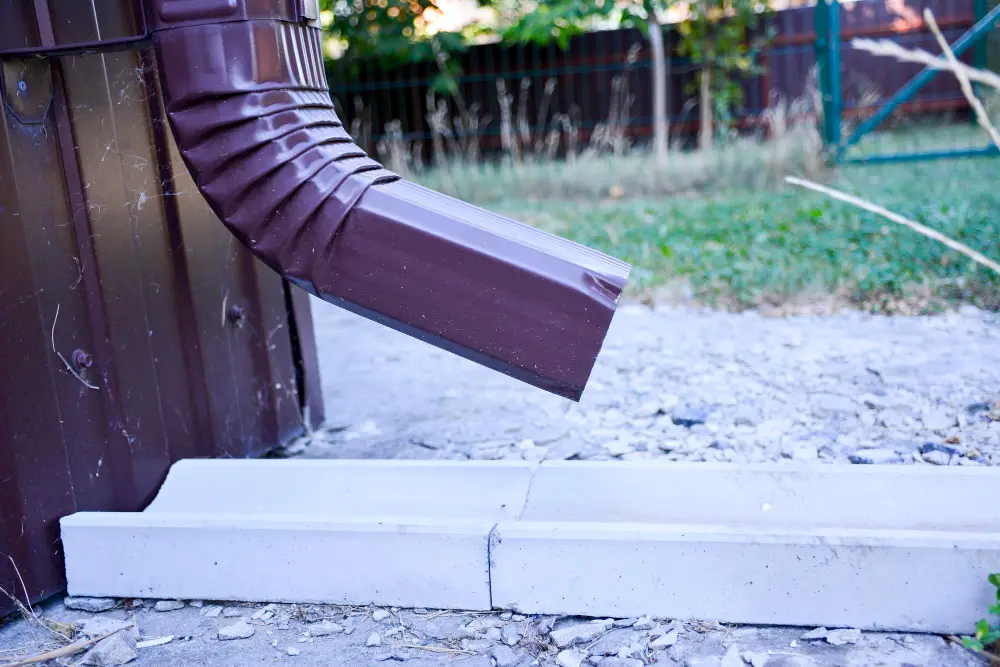
Downspout discharge must go somewhere, and dumping concentrated water flow onto vulnerable surfaces causes erosion and damage. Gravel trenches and swales provide controlled paths for downspout runoff, absorbing water, slowing its flow, and directing it to suitable outlets. Building these features yourself is achievable with basic tools and materials. This guide covers the construction process for both options.
Difference
Gravel trenches and swales both manage water, but they work differently and suit different situations.
Gravel Trenches
A gravel trench is a narrow excavation filled with stone. Water enters the trench and either soaks into the surrounding soil or flows through the gravel to an outlet. Trenches work well for concentrated discharge from downspouts and can function as infiltration zones or conveyance channels.
Gravel trenches hide the drainage system below or at ground level, making them suitable for areas where appearance matters. They handle foot traffic and mowing better than open channels.
Swales
A swale is a broad, shallow channel that moves water across the surface. Swales slope toward an outlet and rely on gravity to convey water. They can be lined with grass, gravel, or stone depending on flow rates and appearance preferences.
Swales spread water over a larger area than trenches, reducing flow velocity and allowing infiltration along their length. They work well for managing larger volumes and longer distances.
Planning Your Project
Before digging, plan the location, size, and outlet for your drainage feature.
Locating the Feature
Position the trench or swale to intercept downspout discharge and direct it away from buildings, driveways, and other vulnerable areas. Consider the path water will take and where it will ultimately go.
The outlet must be at a lower elevation than the starting point. Walk the proposed route and verify that the ground slopes in the right direction. If the grade does not support surface flow, a trench with an outlet pipe may be necessary.
Determining Size
For gravel trenches receiving downspout discharge, a width of 12 to 18 inches handles most residential applications. Depth depends on the intended function. Infiltration trenches need depth for water storage, typically 18 to 24 inches. Conveyance trenches can be shallower, 12 to 18 inches.
Swales should be wide enough to spread water and reduce velocity. A minimum width of 24 inches works for most downspout applications, with 36 inches or wider for higher flows or longer runs.
Identifying the Outlet
Every drainage feature needs an outlet for excess water. Options include:
A low area on the property where water can spread and soak in An existing ditch or drainage system A dry well that stores water for infiltration A storm drain connection where permitted
The outlet must handle peak flow without backing up. Size outlets to accept the full volume from connected roof areas during heavy rain.
Checking for Utilities
Before digging, contact your local utility locating service. Underground utilities including gas lines, electric cables, water pipes, and communication lines may cross your work area. Most areas require a call to 811 or a similar service at least a few days before digging.
Building a Gravel Trench
Constructing a gravel trench involves excavation, fabric installation, gravel placement, and connecting the downspout discharge.
Materials Needed
Landscape fabric or filter fabric Clean, washed gravel in 3/4-inch to 1-inch size Drain pipe if creating a conveyance system Downspout adapter to connect the discharge pipe Stakes or pins to hold fabric in place
Step 1: Excavate the Trench
Dig the trench along your planned route at the width and depth determined during planning. Keep the sides reasonably vertical and the bottom level from side to side. Slope the bottom toward the outlet at about one percent, or one inch per eight feet.
Remove rocks, roots, and debris from the trench. Loose material in the bottom interferes with drainage and can puncture fabric.
Step 2: Install Landscape Fabric
Line the trench with landscape fabric, covering the bottom and extending up both sides. Leave enough excess at the top to fold over the gravel later. The fabric prevents soil from migrating into the gravel and clogging the system.
If using multiple pieces of fabric, overlap them by at least 12 inches. Secure the fabric with stakes or pins to keep it in place during gravel installation.
Step 3: Add Drain Pipe if Needed
For conveyance trenches that will carry water to an outlet, place a perforated drain pipe in the bottom of the trench. The pipe should sit on a few inches of gravel with the holes facing down. This positioning allows water to enter while minimizing sediment infiltration.
Connect the pipe sections and run the pipe to the outlet location. The end of the pipe at the outlet should be solid, not perforated, to discharge water without allowing soil entry.
Step 4: Fill with Gravel
Pour clean, washed gravel into the trench. Use stone free of fines and dust, which can clog drainage pathways. Fill to within a few inches of the surface, or to grade if the trench will be hidden.
If a drain pipe is installed, ensure gravel surrounds the pipe completely with at least a few inches of cover above.
Step 5: Fold Fabric & Finish
Fold the excess landscape fabric over the top of the gravel. This creates a complete envelope that protects the drainage layer. Cover the fabric with a thin layer of gravel, mulch, or soil depending on how the area will be used.
Step 6: Connect the Downspout
Route the downspout discharge to the trench. Options include:
Directing an above-ground extension to discharge onto the gravel Running a buried pipe from the downspout to the trench Installing a pop-up emitter that releases water into the trench
Ensure the connection allows water to enter the trench without eroding the edges.
Building a Swale
Swale construction is simpler than trench work but requires more attention to grading and slope.
Materials Needed
Sod or grass seed for vegetated swales Stone or gravel for lined swales Erosion control fabric for establishing vegetated swales Stakes and string for marking the layout
Step 1: Mark the Layout
Use stakes and string to mark the swale path. Set stakes at the starting point, outlet, and any turns along the route. Run string between stakes at the intended bottom elevation of the swale.
Check the slope by measuring from the string to ground level at multiple points. The bottom should slope consistently toward the outlet.
Step 2: Excavate the Channel
Dig the swale along your marked path. Create a broad, shallow channel rather than a deep ditch. Side slopes should be gentle, typically 3:1 or flatter, meaning three feet of horizontal distance for every one foot of depth.
The bottom can be flat or slightly rounded. Avoid sharp angles that concentrate flow and create erosion points.
Step 3: Check & Adjust Grade
After initial excavation, check the grade carefully. Place a level on a long straight board to verify consistent slope. Water should flow smoothly from the starting point to the outlet with no low spots where it could pool.
Adjust by removing soil from high spots or adding and compacting fill in low spots.
Step 4: Stabilize the Surface
For vegetated swales, install erosion control fabric or mesh over the bare soil. This holds the soil in place while grass establishes. Seed or sod over the fabric and water regularly until vegetation is established.
For stone-lined swales, place landscape fabric in the channel and cover with stone. Use stones large enough to stay in place during flow, typically three inches or larger. Overlap fabric seams and extend fabric under any edge stones.
Step 5: Connect the Water Source
Direct downspout discharge to the swale entry point. A splash block or small rock apron at the entry absorbs impact and spreads the flow before it enters the swale.
If multiple downspouts will use the swale, design entry points that introduce water smoothly without creating erosion.
Maintenance Requirements
Both gravel trenches and swales require periodic attention to continue functioning properly.
Inspect after significant storms to check for erosion, sediment accumulation, or blockages. Clear any debris that could impede flow.
For gravel trenches, watch for settling that creates low spots. Add gravel as needed to maintain grade.
For vegetated swales, mow regularly to keep grass at a height that does not block flow. Repair any erosion with soil and seed.
Remove leaves and debris that accumulate in fall. Organic matter can mat down and block water flow.
Dirt Road Repairs designs and builds drainage solutions for properties throughout our service area. We construct gravel trenches, swales, and other features that manage downspout runoff and protect your property from water damage. Contact us to discuss your drainage needs and get a quote for professional installation.