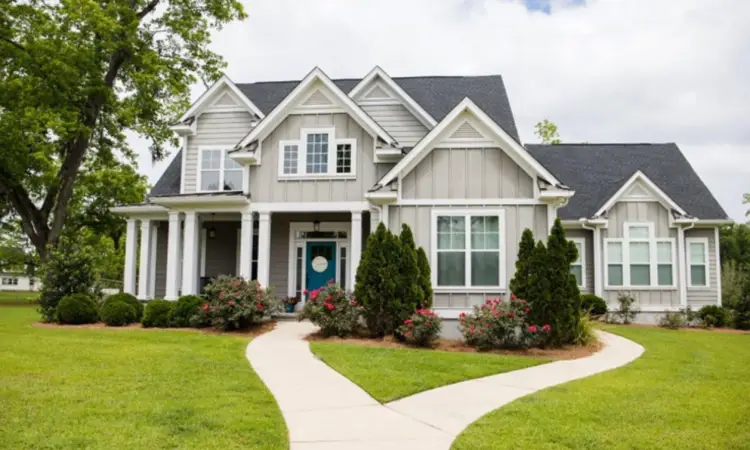
A gravel driveway can last decades if it’s built the right way from the start. The problem is that most people skip steps or use the wrong materials, and then they’re stuck regrading and adding stone every year. If you want to build a gravel driveway that actually holds up for 20 years or more, you need to follow the same methods that professional contractors use.
This isn’t about throwing some rocks on the ground and hoping for the best. It’s about building a road structure that handles water, supports traffic, and stays in place through every season. Here’s how the pros do it in North Georgia and why their driveways outlast the DIY versions by a decade or more.
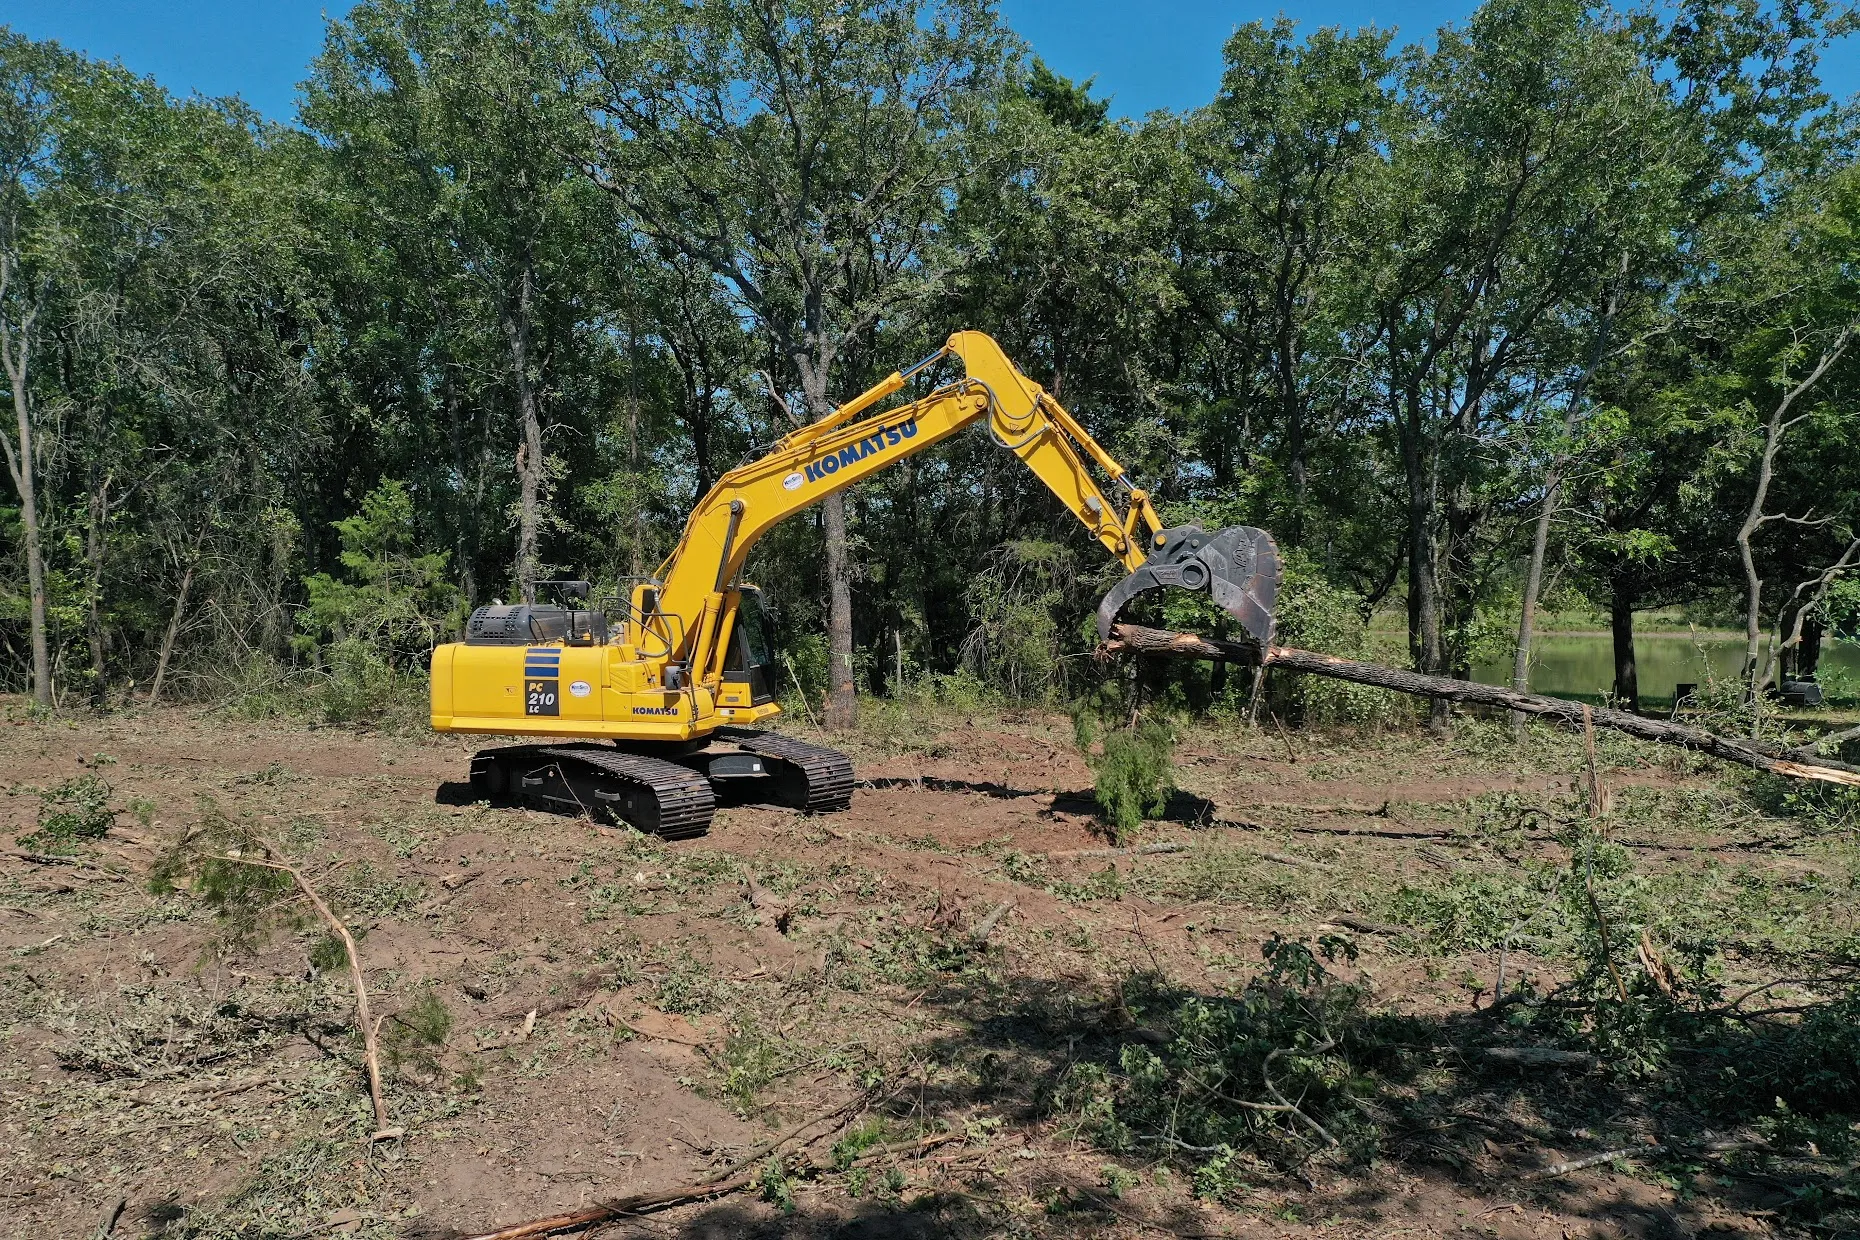
Start With the Subgrade
The subgrade is the native soil underneath your driveway. Everything you build sits on top of it, so if the subgrade isn’t right, nothing else matters. This is where most DIY projects go wrong before they even get started.
Clearing & Grading
First, remove all vegetation, roots, and topsoil from the driveway path. Topsoil is full of organic material that breaks down over time, creating soft spots and sinkholes. You want to get down to stable mineral soil before you do anything else.
Once cleared, grade the subgrade to establish the shape of your finished driveway. This means creating a crown in the center so water runs off to both sides. The crown should be about half an inch to one inch of rise for every foot of width. On a 12-foot wide driveway, that’s a 3 to 6 inch crown from edge to center.
Compaction Matters
After grading, compact the subgrade with a vibratory roller or plate compactor. This step gets skipped constantly by homeowners, and it’s a major reason their driveways fail early. Loose soil settles unevenly under the weight of vehicles, creating ruts and low spots that collect water.
In Georgia, we’re dealing with clay soil in most areas. Clay holds water and expands when wet, which can push gravel around and create heaving. Compacting the subgrade helps minimize these issues by creating a denser, more stable base.
Install a Geotextile Fabric
Geotextile fabric is a woven or non-woven synthetic material that separates your gravel from the soil below. It does two things that matter for longevity. First, it keeps the gravel from sinking into soft soil over time. Second, it allows water to drain through while holding your road materials in place.
Lay the fabric across the entire driveway footprint after you’ve compacted the subgrade. Overlap seams by at least 12 inches. This step adds maybe $200 to $500 to a typical residential driveway project, but it can add years to the life of your road.
Some contractors skip this on sites with firm, well-draining soil. But in areas with clay or where the water table is high, fabric makes a noticeable difference in how well the driveway holds up.
Build the Base Layer
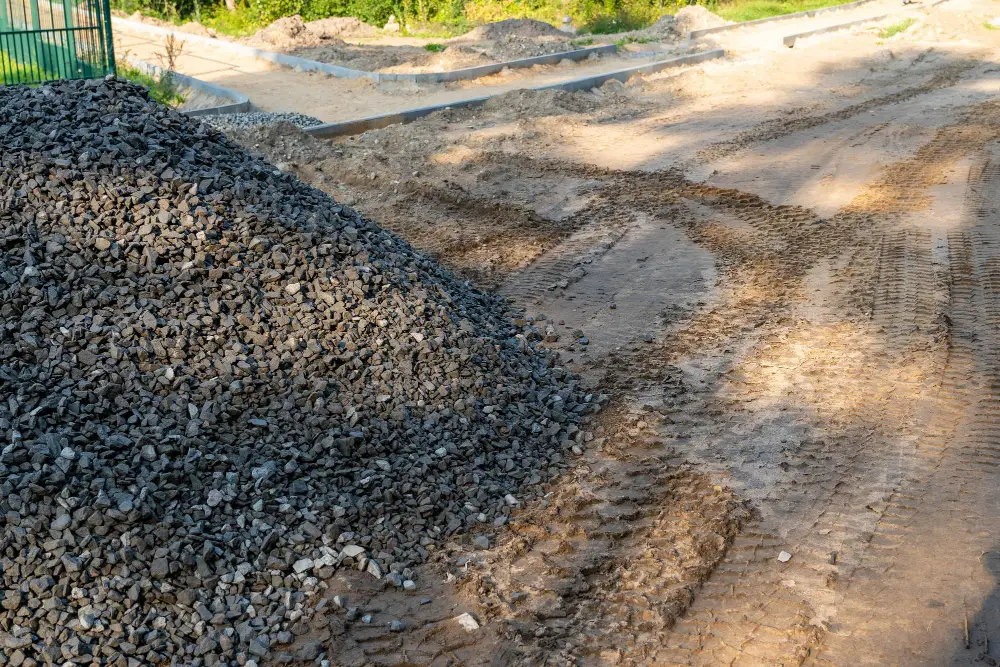
The base layer is the foundation of your driveway structure. This is where you use larger stone that provides strength and drainage. Most pros use 3-inch or 4-inch clean stone for this layer.
Thickness & Coverage
Plan for a base layer that’s 4 to 6 inches thick after compaction. On driveways that will see heavy trucks or equipment, go thicker. The base layer spreads the weight of vehicles across a wider area, protecting the subgrade from getting rutted.
Spread the stone evenly and then compact it. You want the stones to lock together, not just sit loosely on top of each other. A vibratory roller works best here, though a plate compactor can work for smaller residential projects.
Why Clean Stone Works
Clean stone, meaning stone without fines mixed in, creates voids that let water drain through quickly. This keeps water from saturating your driveway and softening the layers above. Standing water is the enemy of gravel roads, and a good base layer helps move it away from the driving surface.
Add the Middle Layer
The middle layer, sometimes called the binder course, uses smaller stone than the base. Most contractors use 2-inch stone or a mix of sizes for this layer.
This layer should be 3 to 4 inches thick after compaction. Its job is to fill in some of the gaps from the base layer while still allowing drainage. The middle layer also provides a smoother surface for your top layer to sit on.
Compact this layer just like you did the base. Each layer should be fully compacted before you add the next one. Skipping compaction is like building a house on sand.
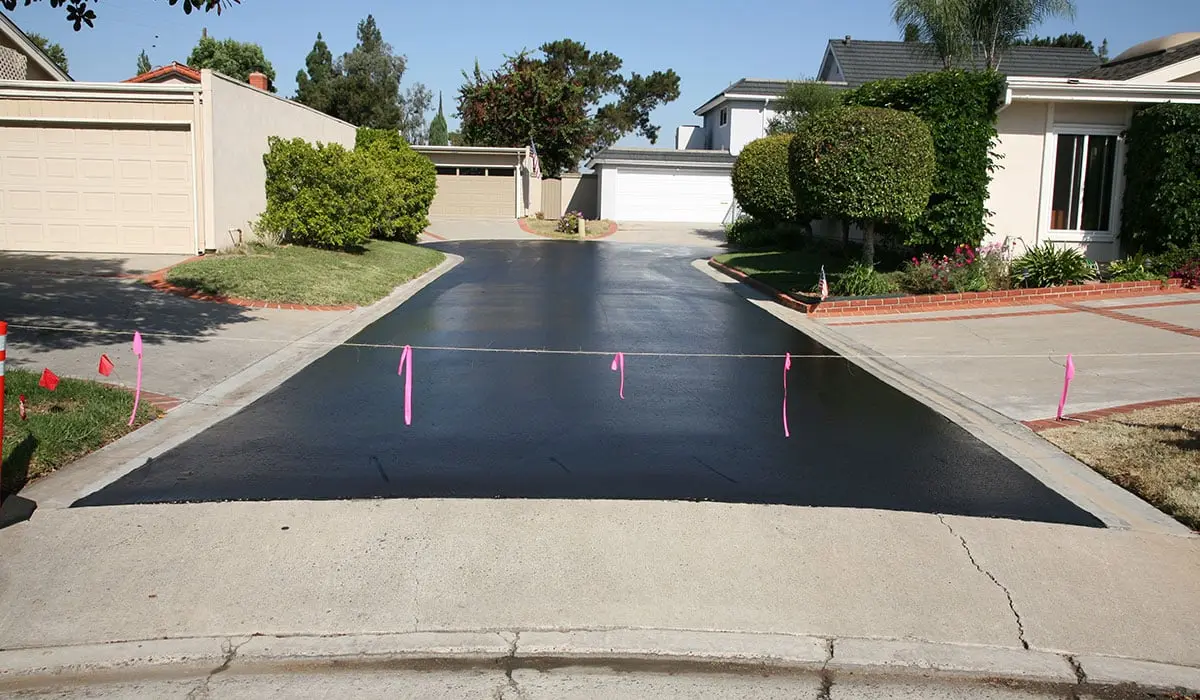
Finish With the Surface Layer
The surface layer is what you actually drive on. This is where material choice makes a visible difference in how your driveway looks and performs.
Crush & Run for the Win
Crush and run, also called crusher run or ABC stone, is the top choice for surface material in the Southeast. It’s a mix of crushed stone and stone dust that packs down to form a hard, stable surface. The angular shape of the crushed stone locks together, and the fines fill in the gaps.
Apply 2 to 3 inches of crush and run for your surface layer. Spread it evenly, maintaining that crown you established back at the subgrade. Then compact it thoroughly. When properly compacted, crush and run can get almost as hard as asphalt.
Avoid Round Gravel
River rock and pea gravel look nice in a garden bed, but they make terrible driveway surfaces. The round stones roll under tires and never lock together. You’ll spend every year pushing gravel back into the wheel tracks.
Handle Drainage Right
A driveway that lasts 20 years needs drainage that works. Water is what destroys gravel roads, so every part of your driveway design should move water away from the driving surface.
Ditches & Culverts
Ditches along both sides of your driveway catch water that runs off the crowned surface. These ditches need to slope toward a low point where water can exit the property or enter a culvert.
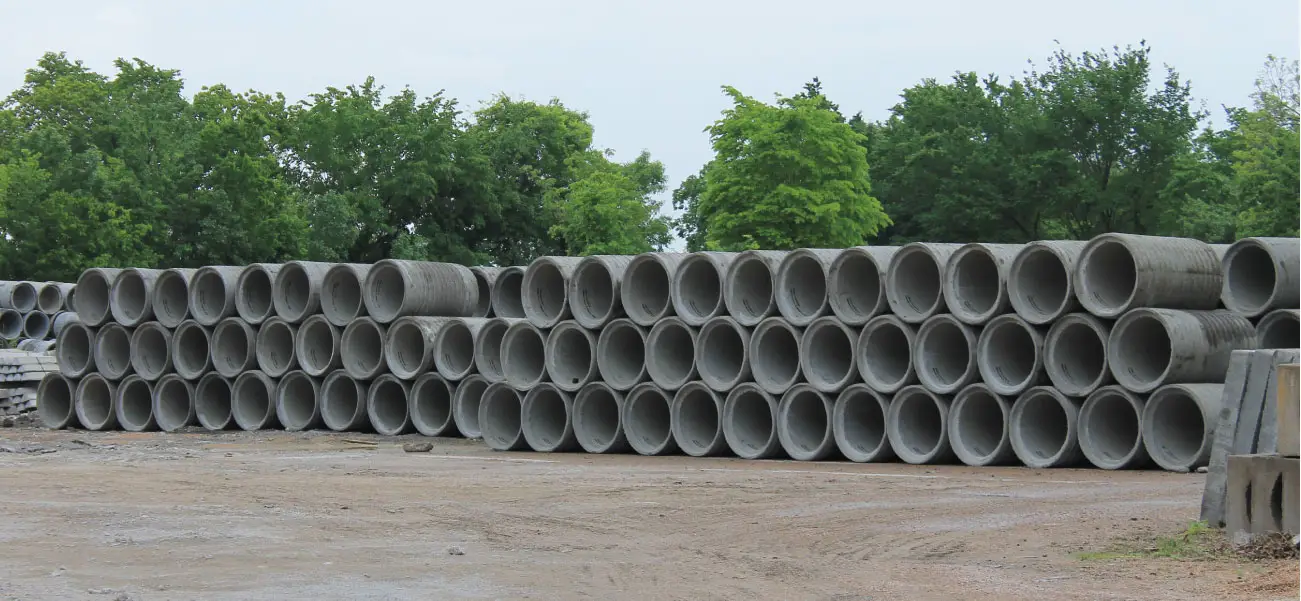
If your driveway crosses a low spot or natural drainage path, you’ll need a culvert pipe. Size the pipe based on how much water it needs to handle. Going too small creates backups that flood your driveway during heavy rains.
Maintaining the Crown
Over time, traffic and weather will flatten your driveway crown. This is normal, and it’s why gravel driveways need occasional grading. The good news is that a well-built driveway needs grading far less often than one thrown together without proper layers.
Plan to have your driveway graded every 1 to 3 years depending on traffic and weather. This restores the crown and smooths out any ruts before they get deep enough to cause structural damage.
The Payoff
Building a gravel driveway the right way costs more upfront than dumping a load of gravel and spreading it around. But the math works out in your favor over time. A properly built driveway needs less maintenance, fewer material additions, and holds up through conditions that would destroy a cheap installation.
Twenty years from now, you’ll still be driving on the same driveway while your neighbors are rebuilding theirs for the third time. That’s the difference between doing it right and doing it fast.